How to use an OVHcloud domain name with iCloud Mail
89 Ansichten
Informationen zur Übersetzung
Diese Übersetzung wurde durch unseren Partner SYSTRAN automatisch erstellt. In manchen Fällen können ungenaue Formulierungen verwendet worden sein, z.B. bei der Beschriftung von Schaltflächen oder technischen Details. Bitte ziehen Sie im Zweifelsfall die englische oder französische Fassung der Anleitung zu Rate. Möchten Sie mithelfen, diese Übersetzung zu verbessern? Dann nutzen Sie dazu bitte den Button "Beitragen" auf dieser Seite.
OVHcloud provides services that you are responsible for with regard to their configuration and management. It is therefore your responsibility to ensure that they function properly.
This tutorial is designed to help you with common tasks. Nevertheless, we recommend contacting a specialist provider if you encounter any difficulties. We will not be able to assist you. You can find more information in the "Go further" section of this guide.
Objective
This guide explains how to use an OVHcloud-registered domain name with the Apple iCloud Mail service. You can then create custom email addresses (firstname@mydomain.com), which are fully managed and hosted by Apple.
Requirements
- A domain name registered with OVHcloud.
- An Apple ID with an iCloud+ subscription.
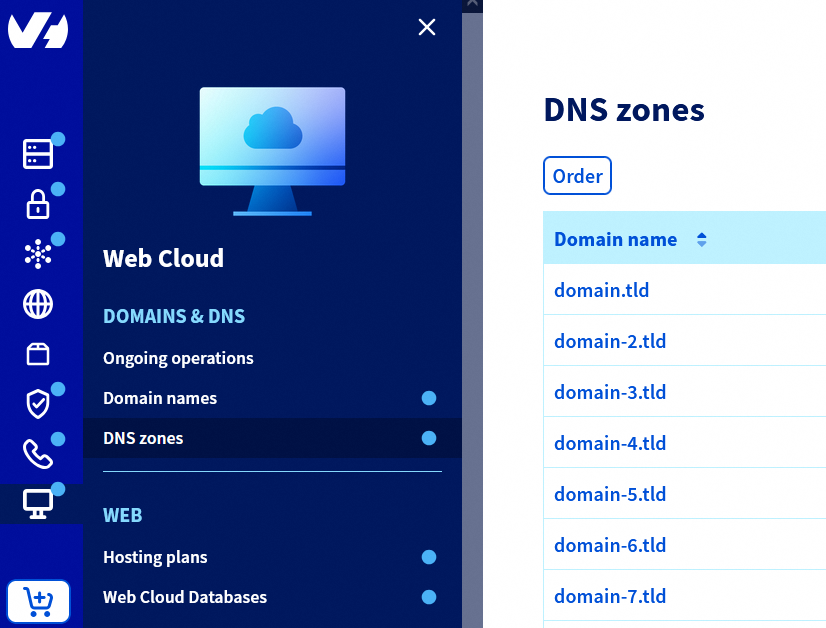
OVHcloud Control Panel Access
- Direct link: DNS zones
- Navigation path:
Web Cloud>DNS zones> Select your domain name
Instructions
1 - Activate the domain name in iCloud
To activate your domain name in iCloud, follow the instructions from the “Add a domain you own to iCloud Mail on iCloud.com” page in Apple's official documentation. Focus on the “Step 3: Update the records with your domain registrar” section, to find the DNS records to add to your OVHcloud DNS zone.
At the end of this step, Apple will send you a list of DNS records (MX, CNAME, TXT) to configure in your OVHcloud DNS zone. Save them for the next step.
2 - Configure the DNS records in your OVHcloud Control Panel
Click on the tabs below to view each of the 2 steps.
Go to the DNS zones page, then choose the domain name concerned.
To find out how to add, modify or delete each type of DNS record (MX, CNAME, TXT, etc.), read our guide “Everything you need to know about DNS records”.
Using the DNS records you previously retrieved (Part 1), create or update the corresponding fields in your OVHcloud DNS zone:
- MX: for receiving emails.
- CNAME: for DKIM keys (
sig1._domainkey...,sig2._domainkey...). - TXT: for SPF (merge if an SPF record already exists).
- TXT DMARC: optional but recommended (Part 3).
Use only the quotation marks ” as they appear in Apple's technical documentation (usually in English). The quotation marks « » or “ “ displayed in some translations should not be used in DNS configuration.
3 - Add a DMARC record (optional)
To improve the deliverability of your emails and prevent them from being delivered as SPAM, add a DMARC record.
To find out how to create a DMARC record in the OVHcloud Control Panel, refer to our guide "Enhancing email security via a DMARC record".
4 - Verify and activate the domain in iCloud
Once the DNS records (MX, CNAME, TXT, DMARC) have been correctly added to your OVHcloud DNS zone, go back to iCloud.com.
Follow the instructions from the “Add a domain you own to iCloud Mail on iCloud.com” page in Apple's official documentation. Focus on the “Step 4: Finish setting up the domain” section.
Once this step is complete, your custom domain name is fully activated and you can create up to 3 addresses per person within your family.
Validation may fail if your DNS records have not yet been propagated. This propagation may take several hours.
Common troubleshooting
Check where the DNS zone is managed
If your domain name is associated with DNS servers external to OVHcloud (Wix, Squarespace, Cloudflare, etc. ), the configuration must be carried out in the management interface for these DNS servers, outside of the OVHcloud Control Panel.
CNAME already exists
- A CNAME record cannot coexist with a A, AAAA, or TXT record configured on the same domain or subdomain.
- Delete the old record before creating the CNAME requested by Apple.
Duplicate SPF
- There can only be one SPF record per domain name. If an OVHcloud SPF record already exists (e.g.:
v=spf1 include:mx.ovh.com ~all), merge it with the one provided by Apple (e.g.:v=spf1 include:mx.ovh.com include:icloud.com ~all).
Incomplete DKIM
- Apple invites you to save several DKIM keys (
sig1,sig2, etc.) in your DNS zone.
Propagation time
- DNS changes can take several hours (up to 24 hours) to be recognized by Apple.
Go further
For specialised services (SEO, development, etc.), contact OVHcloud partners .
If you would like assistance using and configuring your OVHcloud solutions, please refer to our support offers.
Join our community of users.

