Configuring multi-attach persistent volumes with OVHcloud Cloud Disk Array
381 Ansichten
Objective
OVHcloud Managed Kubernetes natively integrates Block Storage as persistent volumes. This technology may however not be suited to some legacy or non cloud-native applications, often requiring to share this persistent data accross different pods on multiple worker nodes (ReadWriteMany or RWX). If you would need to do this for some of your workloads, one solution is to use CephFS volumes.
OVHcloud Cloud Disk Array is a managed solution that lets you easily configure a Ceph cluster and multiple CephFS volumes. In this tutorial we are going to see how to configure your OVHcloud Managed Kubernetes cluster to use OVHcloud Cloud Disk Array as a CephFS provider for Kubernetes Persistent Volumes.
Requirements
This tutorial assumes that you already have a working OVHcloud Managed Kubernetes cluster, and some basic knowledge of how to operate it. If you want to know more on those topics, please look at the deploying a Hello World application documentation.
It also assumes you have an OVHcloud Cloud Disk Array already available. If you don't, you can order one in the OVHcloud Control Panel.
You also need to have Helm installed on your workstation, please refer to the How to install Helm on OVHcloud Managed Kubernetes Service tutorial.
Instructions
To configure OVHcloud Cloud Disk Array, you need to use the OVHcloud API. If you have never used it, you can find the basics here: First steps with the OVHcloud API.
Step 1 - Creating a partition and granting your Managed Kubernetes Service access to it
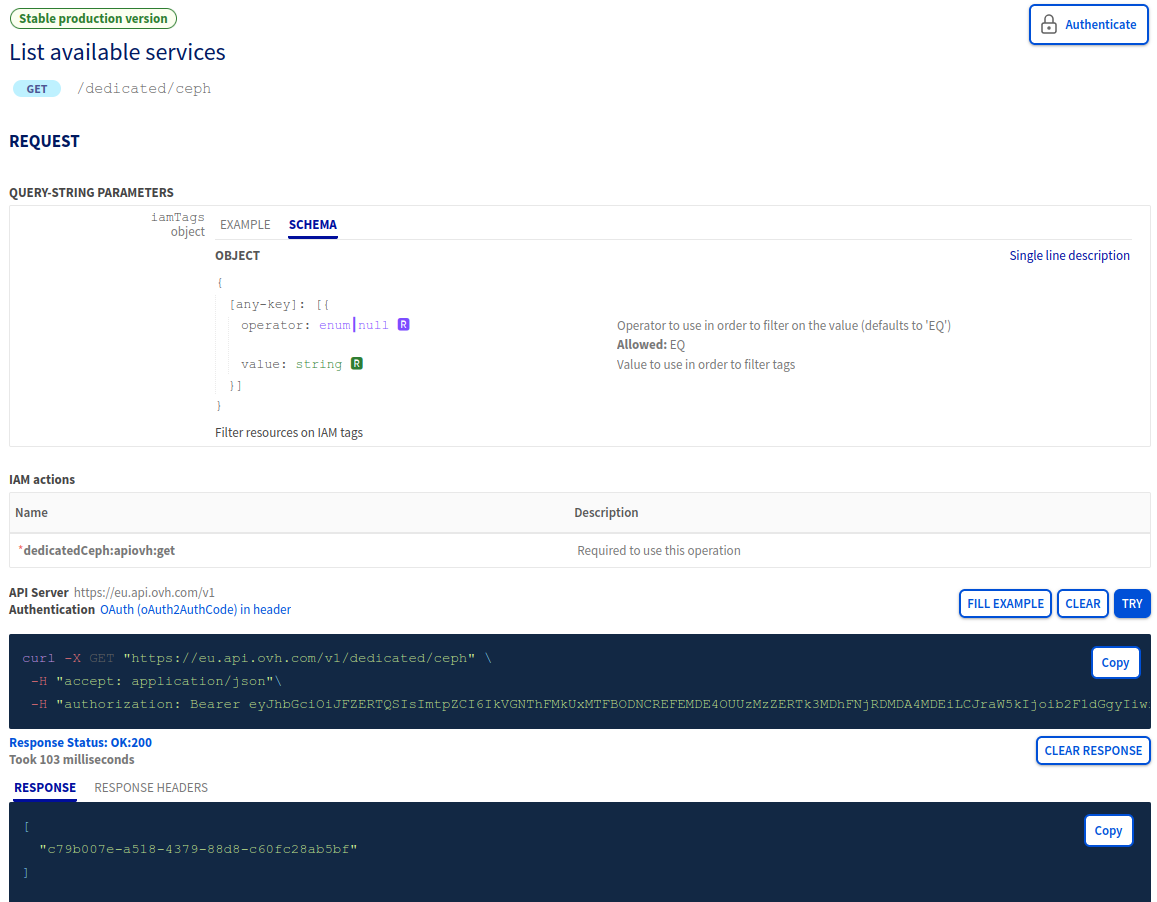
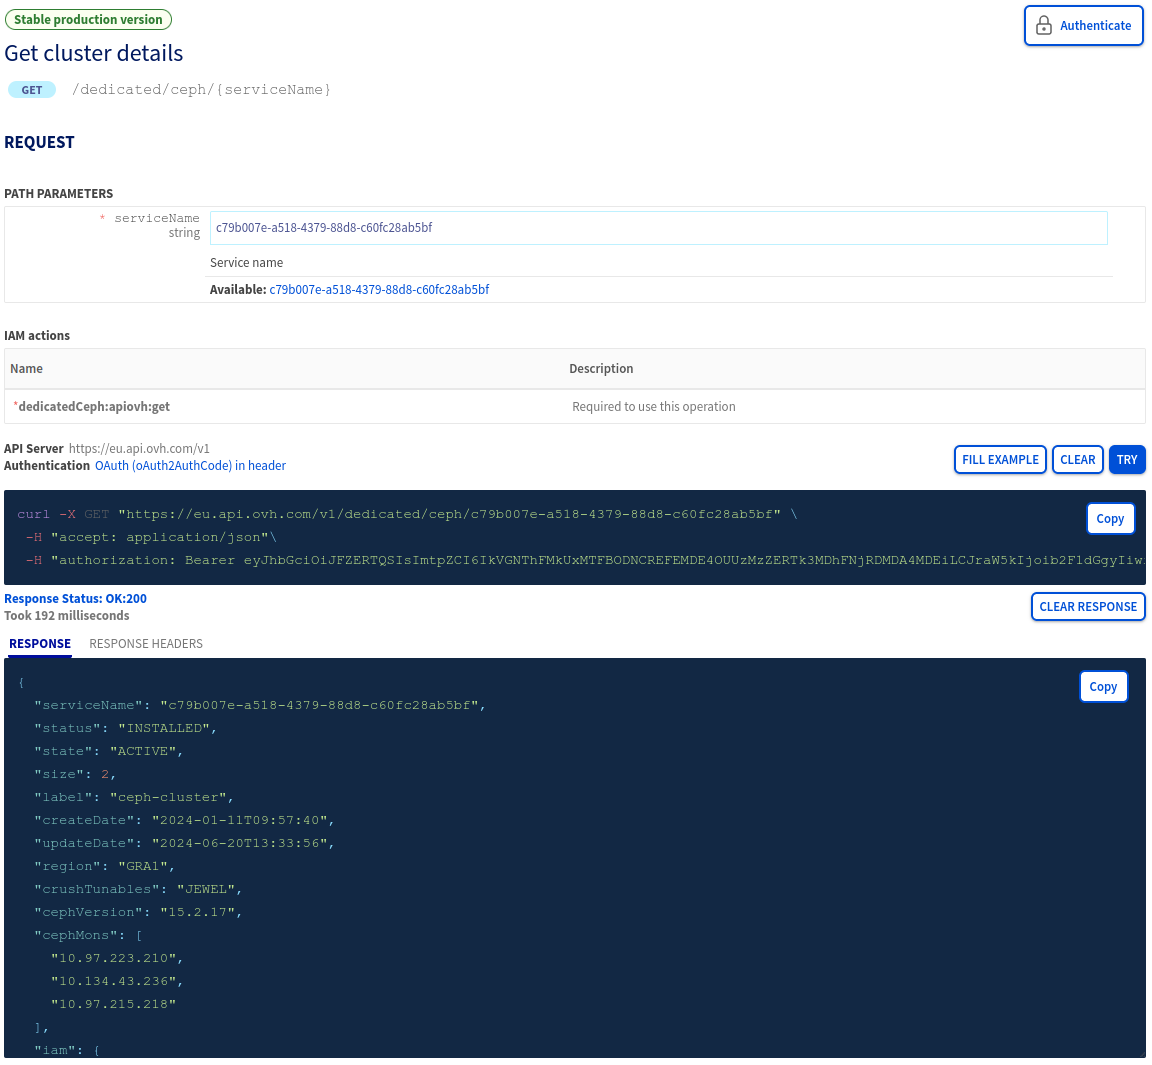
- List you available Cloud Disk Array cluster:
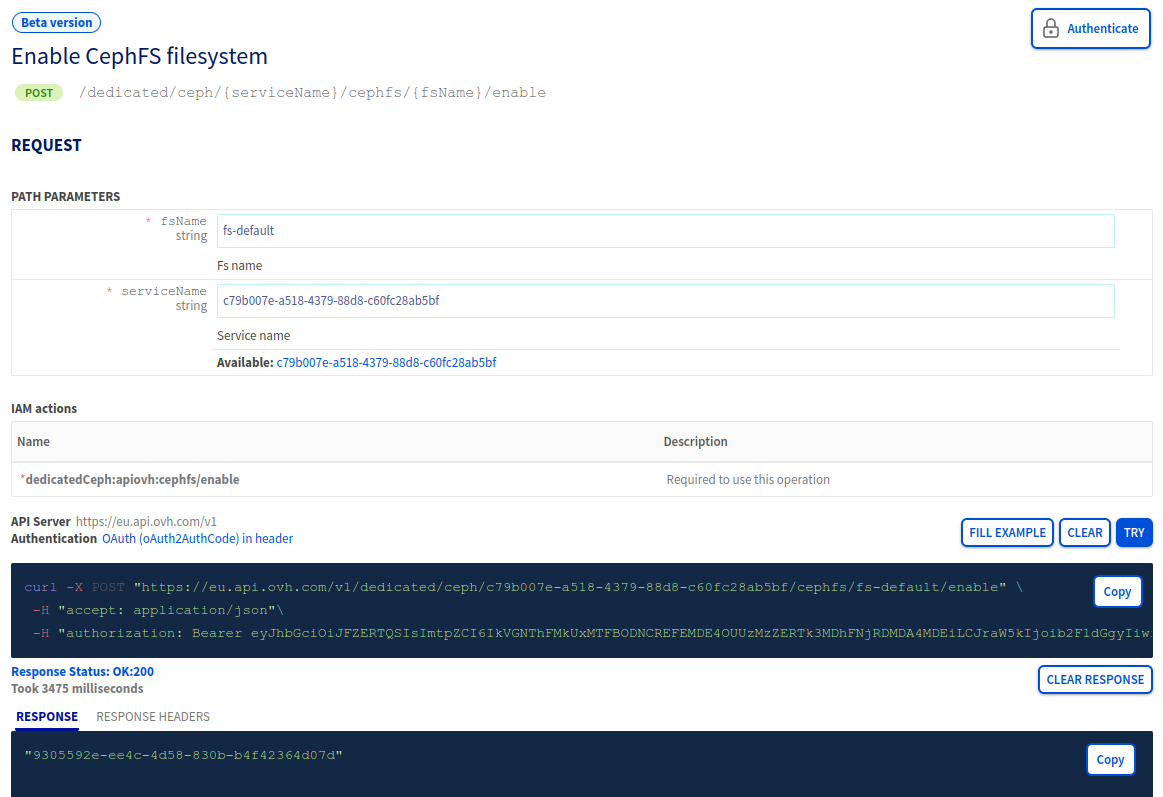
- Create a file system on your Cloud Disk Array:
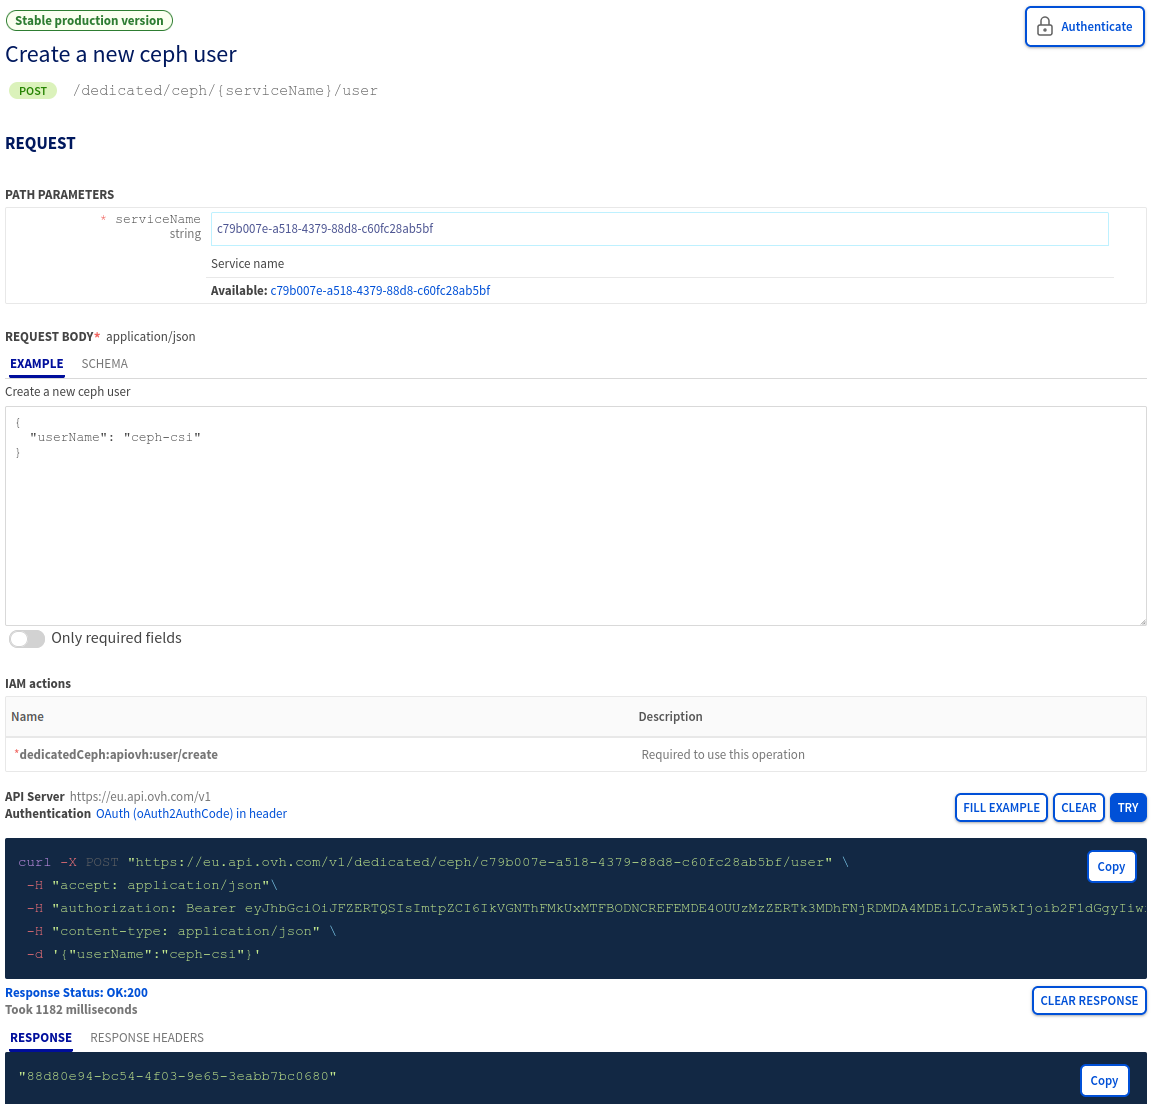
- Create a user for the CephFS CSI that will be used by your Kubernetes cluster:
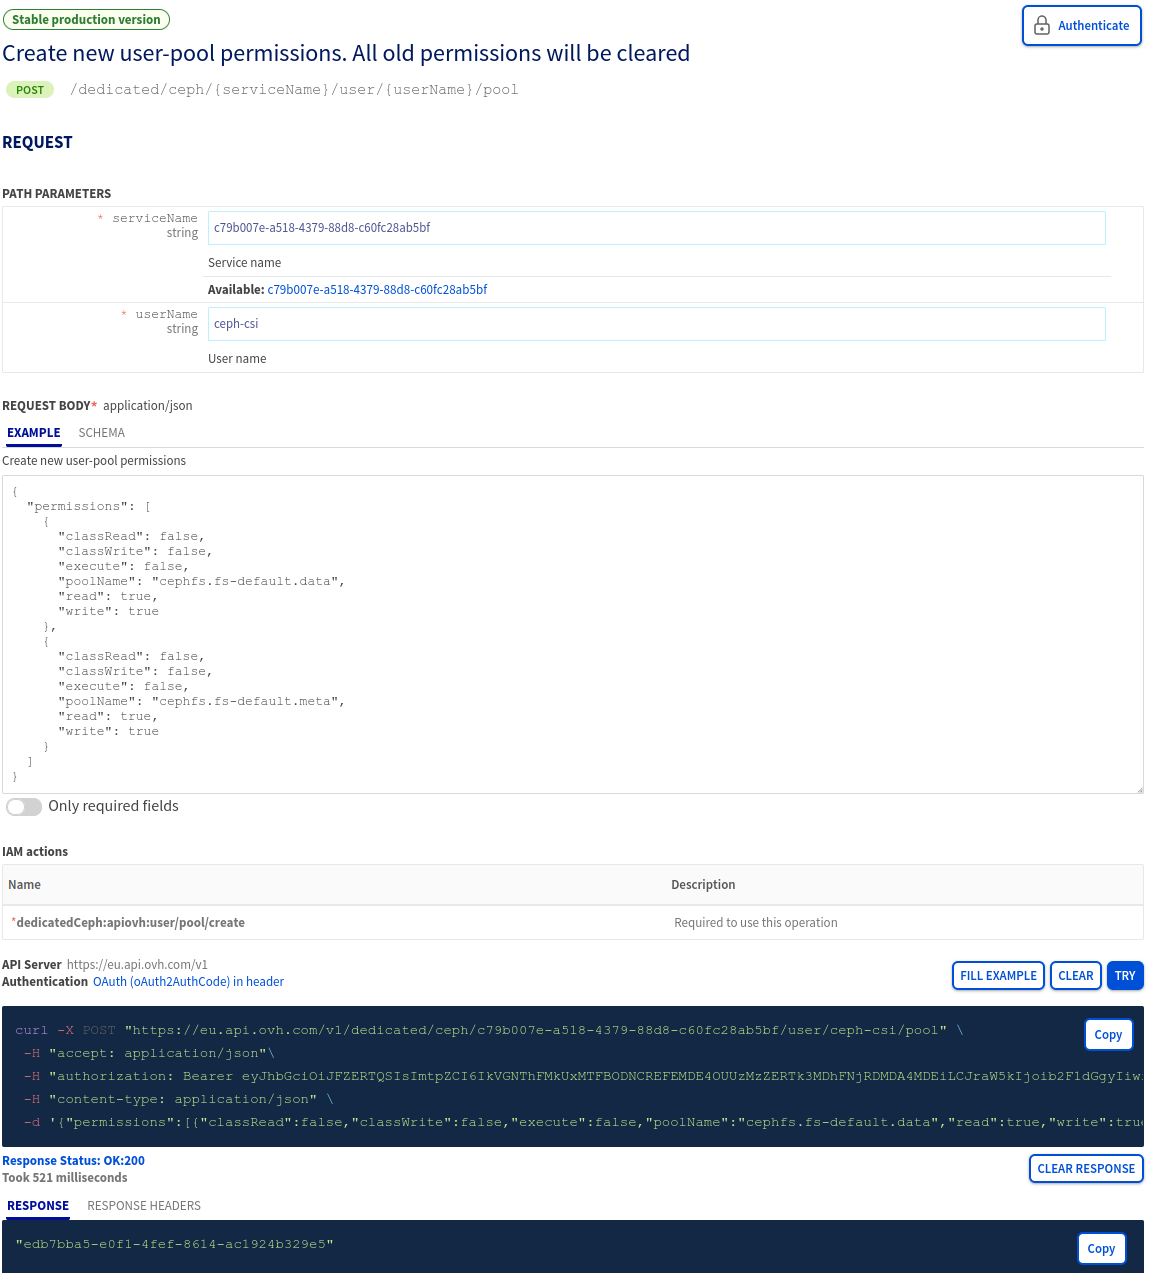
- Add permissions on fs-default for the Ceph CSI user:
Step 2 - Allow Kubernetes Nodes' IPs and/or Public Cloud Gateway IP to the Cloud Disk Array service
Your cluster is installed with Public Network or a private network without using an OVHcloud Internet Gateway or a custom one as your default route
Once the partition is created, we need to allow our Kubernetes nodes to access our newly created partition.
Get our Kubernetes nodes IP:
Your cluster is installed with Private Network and a default route via your Private Network (OVHcloud Internet Gateway/OpenStack Router or a custom one)
Because your nodes are configured to be routed by the private network gateway, you need to add the gateway IP address to the ACLs.
By using Public Cloud Gateway through our Managed Kubernetes Service, Public IPs on nodes are only for management purposes: MKS Known Limits
You can get your OVHcloud Internet Gateway's Public IP by navigating through the OVHcloud Control Panel:
Public Cloud > Select your tenant > Network / Gateway > Public IP
You can also use the following API endpoint to retrieve your OVHcloud Internet Gateway's Public IP:
If you want to use your Kubernetes cluster to retrieve your Gateway Public's IP, run this command:
This will create a temporary pod and open a console.
You may have to wait a little for the pod to be created. Once the shell appears, you can run this command:
This command will output the Public IP of the Gateway of your kubernetes cluster.
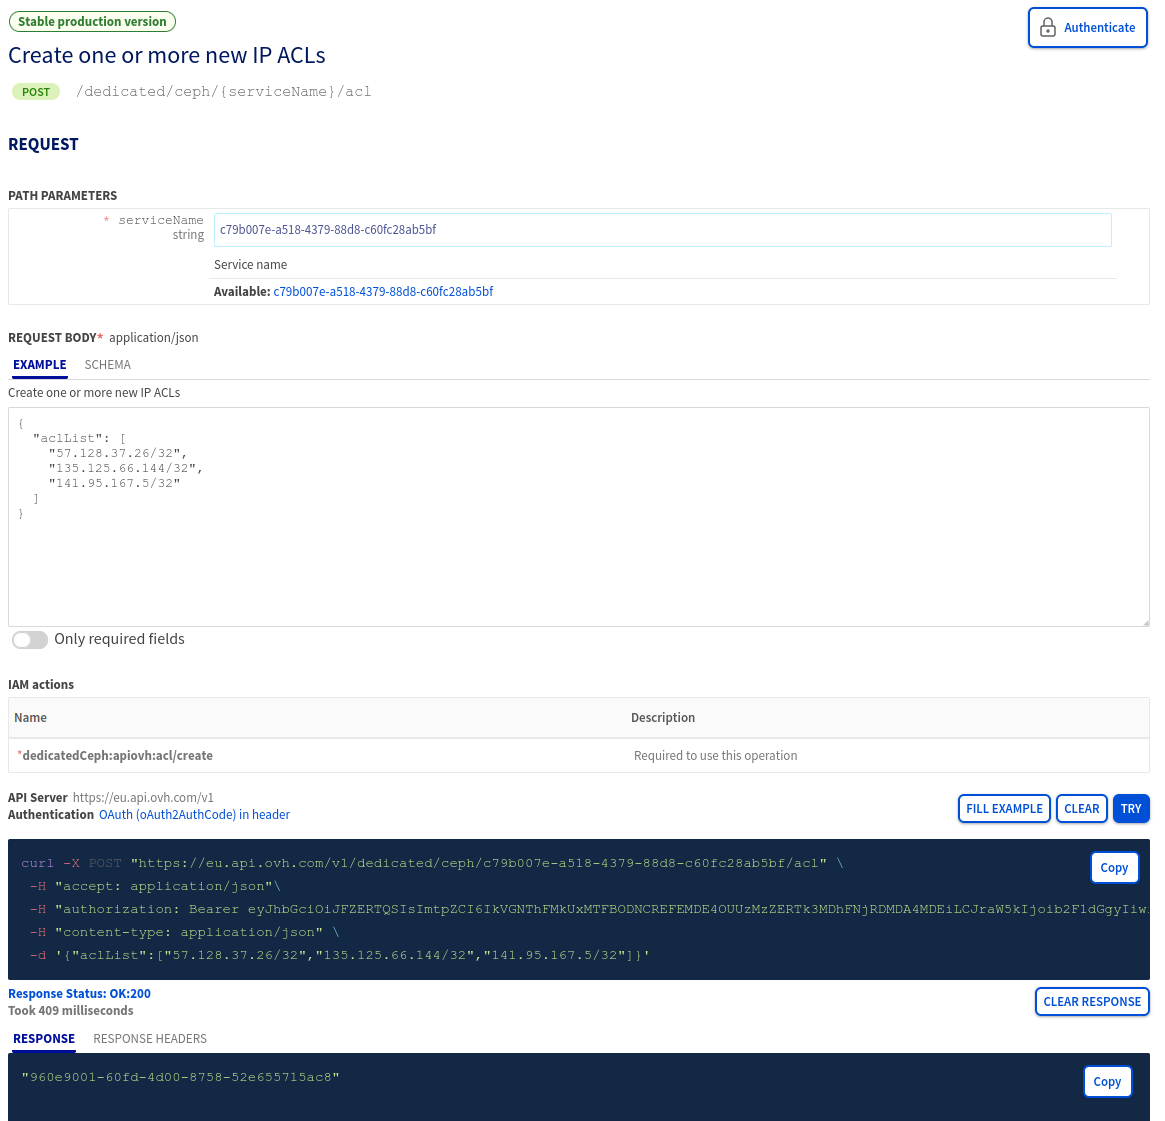
- Add the list of nodes IP or the Gateway IP to allow access to the Cloud Disk Array cluster:
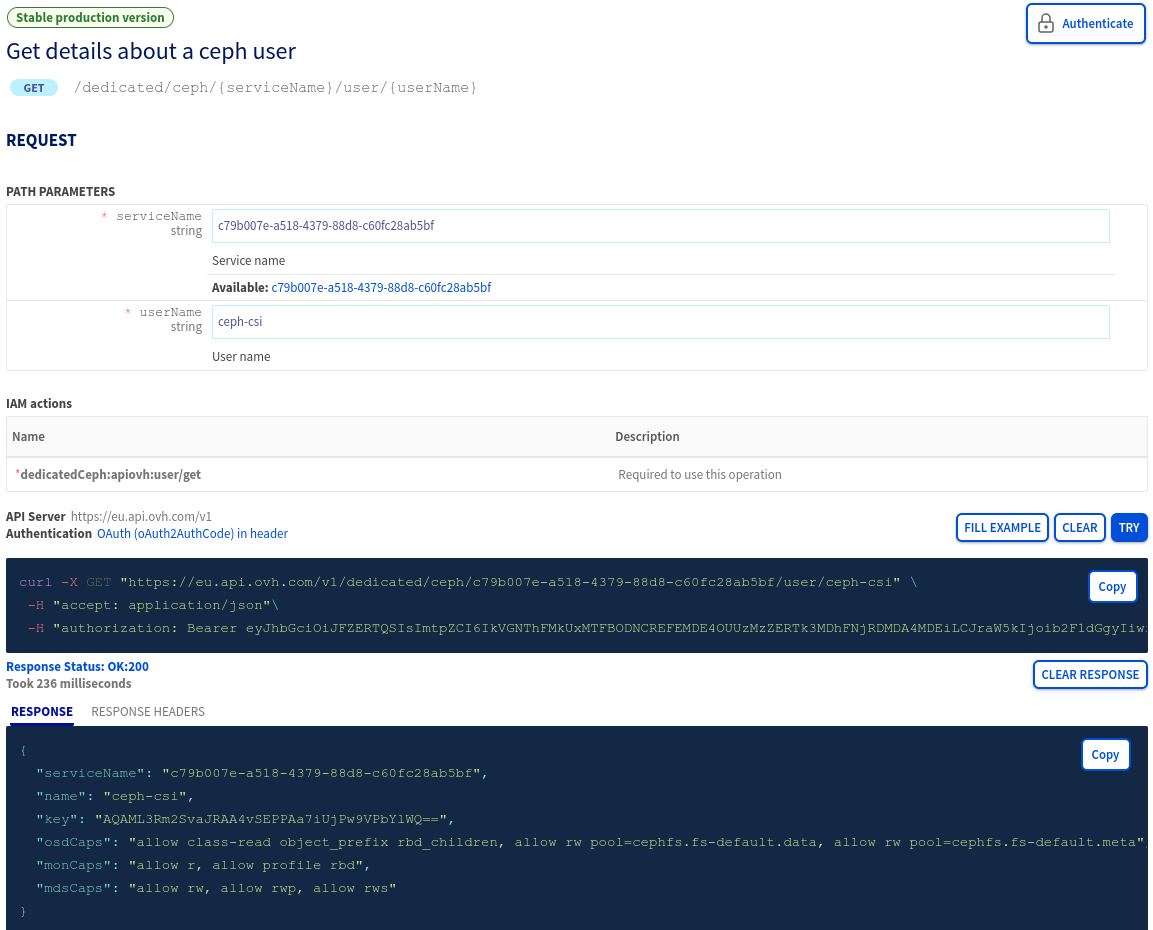
- Get the key for the CephFS CSI user:
- Get the Ceph monitors IP:
- Create a Ubuntu pod on your Kubernetes cluster
- Install the Ceph client and vim inside the Ubuntu pod:
- Configure the Ceph client with the monitors IP and the key:
- Test the Ceph client configuration:
- Add a subvolumegroup to fs-default:
- Exit the Ubuntu pod:
- Destroy the Ubuntu pod:
Step 2 - Configuring Kubernetes to use our newly created CephFS partition
- Install the Ceph CSI helmchart repository:
- Create a configuration file for the Ceph CSI helmchart:
- Install the Ceph CSI on the Managed Kubernetes cluster:
Step 3 - Create and use a CephFS persistent volume
Let’s create a cephfs-persistent-volume-claim.yaml file:
And apply this to create the persistent volume claim:
Let's now create a DaemonSet, which will create pods on all available nodes in order to use our CephFS volume simultaneously on multiple nodes. Let’s create a cephfs-nginx-daemonset.yaml file:
And apply this to create the Nginx pods:
Let’s enter inside the first Nginx container to create a file on the NFS persistent volume:
Create a new index.html file:
And exit the Nginx container:
Generate the URL to open in your browser:
You can open the displayed URL to access the Nginx Service.
Use the following command to validate that the filesystem is shared with the second pod (given that you have more than one node deployed).
Let’s try to access our new web page:
Open both URLs generated by the commands above to see if the data is shared with all the pods connected to the Ceph volume.
As you can see the data is correctly shared between the two Nginx pods running on two different Kubernetes nodes. Congratulations, you have successfully set up a multi-attach persistent volume with OVHcloud Cloud Disk Array!
Go further
To learn more about using your Kubernetes cluster the practical way, we invite you to look at our OVHcloud Managed Kubernetes documentation.
-
If you need training or technical assistance to implement our solutions, contact your sales representative or click on this link to get a quote and ask our Professional Services experts for assisting you on your specific use case of your project.
-
Join our community of users.

