AI Notebooks - Tutorial - Train YOLOv8 to play to "rock paper scissors"
402 Views
Objective
The purpose of this tutorial is to show how to train YOLOv8 to play the game "rock paper scissors".
YOLOv8 is an object detection algorithm. Although closely related to image classification, object detection performs image classification on a more precise scale. Object detection locates and categorizes features in images.
It is based on the YOLOv8 open source repository.
Requirements
- An AI Notebooks project created inside a Public Cloud project in your OVHcloud account
- A user for AI Notebooks
- A Public Roboflow account to access and download the Rock Paper Scissors Dataset
OVHcloud Control Panel Access
- Direct link: Public Cloud Projects
- Navigation path:
Public Cloud> Select your project
Instructions
This tutorial is based on the Rock Paper Scissors SXSW Computer Vision Project Dataset. It is available for free on Roboflow.
To learn more about the license of this dataset, please follow this link.
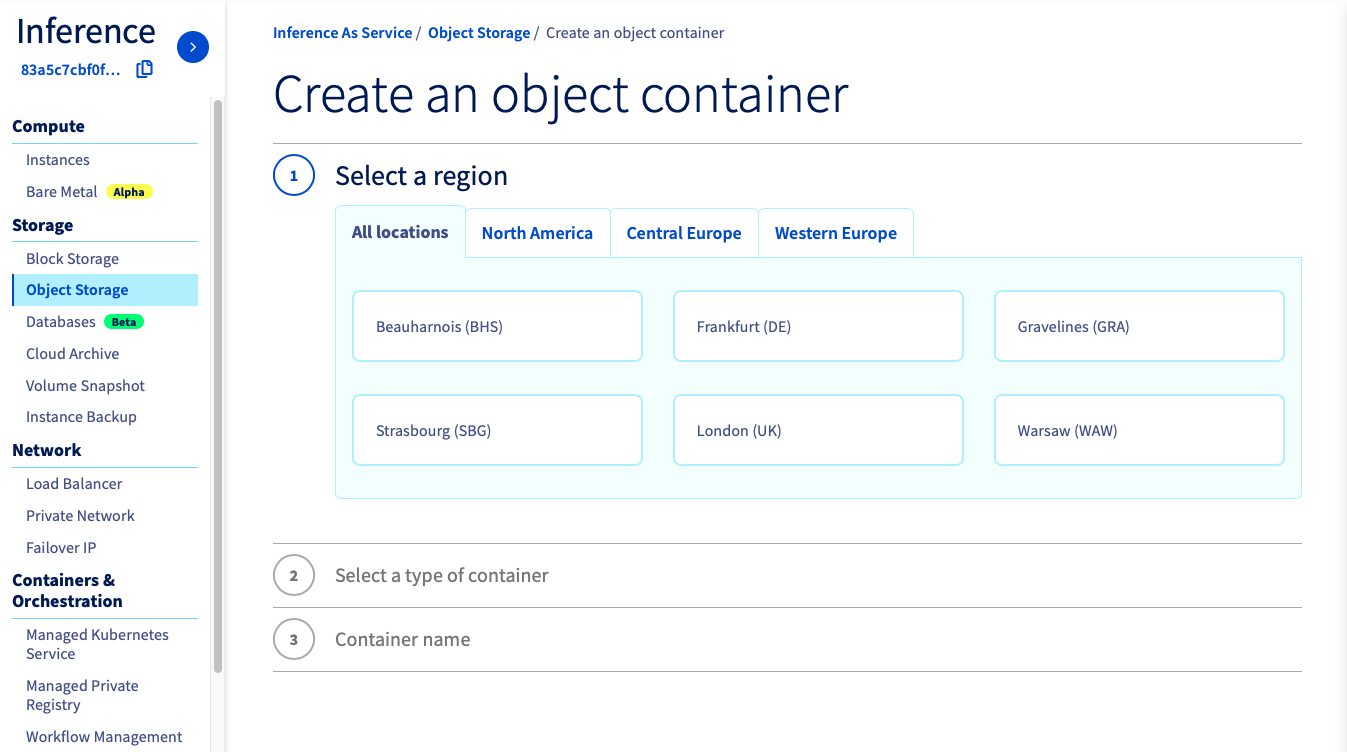
Create Object Storage containers
If you want to create it from the OVHcloud Control Panel, go to the Object Storage section and create a new object container by clicking Object Storage > Create an object container.
If you want to run it with the CLI, just follow this guide. You have to choose the region, the name of your container and the path where your data is located and use the following commands.
In this tutorial, you have to create 2 object containers.
- An object container
rock-paper-scissors-datadedicated to the dataset:
- An object container
rock-paper-scissors-modelto save the model weights (for a future inference for example):
These two Object Storage containers will be empty initially. You will add data from the notebook.
Launch and access Jupyter notebook with Miniconda framework
You need to attach a volume if your data is in your OVHcloud Object Storage and you want to use it during your experiment, or if you need to save the results of your work in the Object Storage. For more information on data, volumes and permissions, see our guide on data.
If you want to launch it from the OVHcloud Control Panel, just follow this guide.
Name your notebookChoose Jupyterlab editorSelect the Miniconda frameworkChoose the access typeSelect the datacenter locationChoose the number of GPUs or CPUs you needAttach your two containersAttach public SSH keys only if you want toCheck that everything is ok and launch your notebook
Once the repository has been cloned, find the YOLOv8 notebook by following this path: ai-training-examples > notebooks > computer-vision > object-detection > miniconda > yolov8 > notebook_object_detection_yolov8_rock-paper-scissors.ipynb.
If you want to launch it with the CLI, choose the volumes you want to attach and the number of GPUs (<nb-gpus>) to use on your notebook and use the following command:
For this tutorial, we advise you to use at least 1 GPU.
You can then reach your notebook’s URL once it is running.
Experimenting with the YOLOv8 notebook
You are now able to train the YOLOv8 model to play the rock paper scissors game.
A preview of this notebook can be found on GitHub here.
Go further
- Do you want to observe the evolution of your metrics during the training of your model? Click here.
- Do you want to train your YOLOv8 model? Here it is.
- Do you want to use your YOLOv8 model in an app? Here it is.
If you need training or technical assistance to implement our solutions, contact your sales representative or click on this link to get a quote and ask our Professional Services experts for a custom analysis of your project.
Feedback
Please send us your questions, feedback and suggestions to improve the service:
- On the OVHcloud Discord server

